Wednesday, October 12, 2011

Sailboat Quilt


This was my first "commissioned" quilt.  I designed this with the help of a good friend who wanted me to make something for her son's "big boy" bed.


I used EQ to design and plan it out.  The quilt is machine pieced and quilted.  I did all of the piecing.  Then we took it to someone I know who does machine quilting on a longarm machine, and she did all the quilting.  It was completed in February, 2011.


Here is the label -- a fish that I hand appliqued on the back.  (I chose not to show a close-up photo here to protect the privacy of my friend's name), which is on the label.

Tuesday, October 11, 2011

Apple Tree Art Idea


Here is an apple tree we made for our wall!
(This activity is appropriate for preschool-age children).


Before doing the art activity, we read a couple of library books about apple trees.


I prepared the tree ahead of time so it would be ready after we read the books.  I got a piece of green poster board from a dollar store.  I cut it into the shape of a cloud to be the top of the tree.  Then I cut open a paper grocery bag and cut out the shape of a tree trunk from that.


Next I cut an apple in half and then let the children take turns dipping the apple half into red paint and stamping it onto the tree.  We did this step with the green part of the tree lying flat on a table (not with it hung on the wall yet).  The kids loved "decorating" the tree with apples!


After letting it dry, I hung the tree on the wall with blue painter's tape (so it won't peel the paint off the wall when I remove it).

Saturday, October 8, 2011

Tablerunner


This is a tablerunner I made for my mother-in-law's birthday in March, 2010.  I used Electric Quilt to help me plan this out.  I did not purchase any fabrics for this quilt.  I made it entirely with fabrics already on hand.


I machine pieced and quilted this one. Start-to-finish I think it took me about a week to make this. I procrastinated getting this going, mainly because I was working on my friend's sailboat quilt, so I was kind of in marathon mode when I made this.


If I decide to make another one of these, I would like to make it a little longer.  I also think I would change the yellow pieced border to one that is not pieced.  That would make it a little quicker to put together, and I don't think the pieced border is necessary to the overall design anyways.  This tablerunner would look good in many different colorways, and might make nice gifts for the holidays.  I just might make a few more!

Friday, October 7, 2011

Name Banner Quilts


I came up with the idea for this wall hanging after finishing an alphabet quilt for my son.  I have made three of these so far.  I used the same letter templates for this as the alphabet quilt.  I used hand applique for the letters and hearts, and I did hand quilting around each letter and heart.  All of the fabrics in this wall hanging are the same as ones used in the alphabet quilt.


This one hangs in my daughter's room.  This is also hand appliqued and hand quilted.  The daisy template is from EQ.  I am hoping to make a bed quilt for her in the future that will include some of these same fabrics and maybe the flowers too.  I'm still working on designing that one.

Thursday, October 6, 2011

Family Picnic Quilt

Family Picnic, 2009
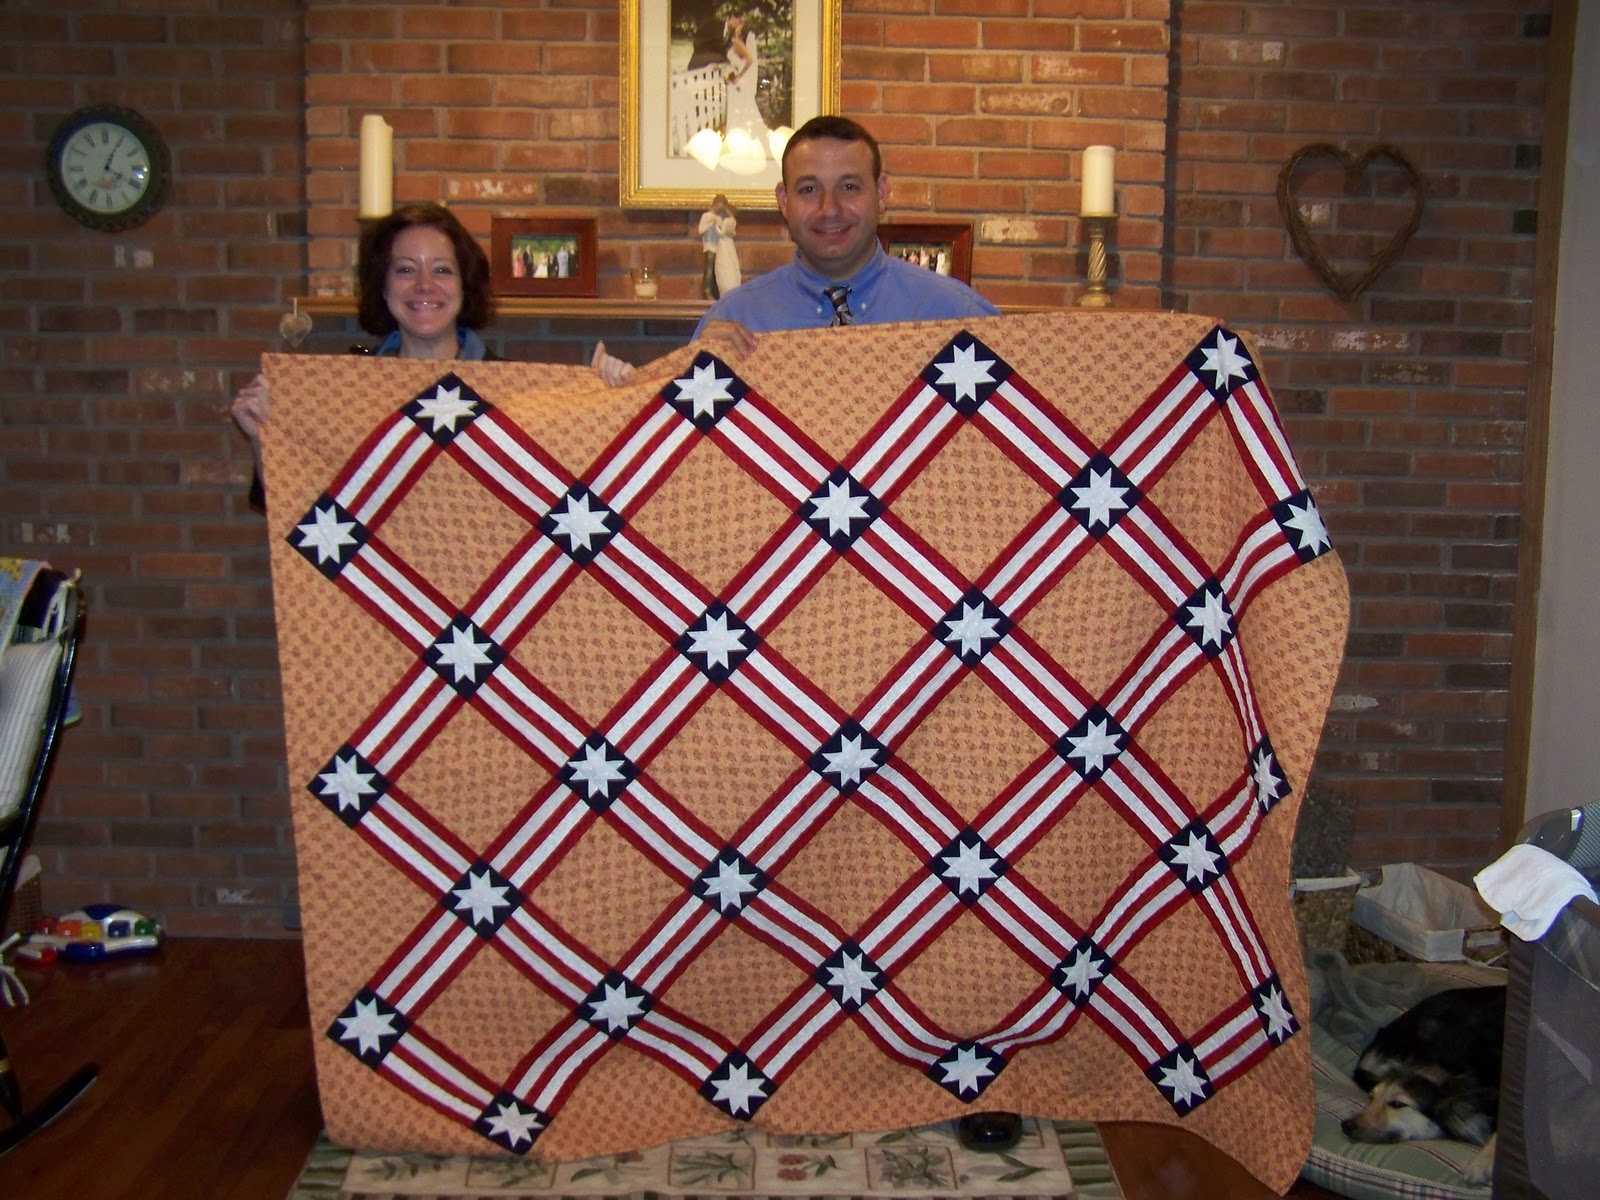
Here is our family picnic blanket that I made in 2009. This is the first quilt I designed and made utilizing my Electric Quilt software.  I made this quilt in about a week (start to finish).  It is entirely machine pieced and quilted.  This quilt is made up of 5 1/2" squares and measures approximately 80" square.  I wanted to make a blanket large enough for my 6'2" husband.  I found that most pre-made picnic blankets are far too small for my liking.  I mean really, what good is a picnic blanket if the whole family can't fit on it at the same time?

When I made this quilt, I was very motivated to make something quick, easy, and durable.  I knew this would get a lot of love (read "wear and tear"), so I didn't want anything fancy or fussy that I would worry about "ruining."  So far, this quilt has been puked on, drooled on, pooped on (by children and wildlife), spilled on, and otherwise abused.  It's holding up pretty well so far.  It HAS faded a bit, but that's to be expected since I have it in the sun almost every time we use it.  Most of the time, I keep this quilt in my car.  It comes in handy for the spontaneous outing and also can be used in winter if we should happen to become "stuck" somewhere when it's cold out.


Here is a close-up of the center square of the quilt.  The writing was supposed to be on the inside part of the flap, but I made a mistake and it ended up being on the top outside part of the flap instead!


The center square opens to reveal this hole, which I designed for a beach umbrella pole!  Honestly, I don't know why anyone else hasn't thought of this yet.


And here's a picture of my daughter in July of that year.  She found the hole and the umbrella pole quite interesting!


And my husband with the children enjoying a picnic at the park on our new family picnic blanket!

Wednesday, October 5, 2011

Autumn Stars & Stripes Quilt


This is my brother and sister-in-law with the quilt I made for their wedding gift (2007).  This was a pattern I found in one of my magazines or books (I can't remember).  He loves the patriotic theme, she loves autumn colors, so I thought it was a good design for them.


Here's a close-up of the design.  It was a pretty simple pattern to do.  I think the hardest part was picking out the right fabrics.  There are three different reds and three different whites used.  I had to also find the right shade of blue for the star blocks.


Here it is again in the vertacle position.  I don't have any other pictures of this quilt or close-ups of the quilting.  I sent it out to a professional quilter and she did custom quilting on it.  She outlined all the stars and quilted a leaf design in the large open areas.  It came out really nice.

I guess one of the things I can say I learned making this quilt is that it is much easier to keep nice sharp points on a star block if it is "floating" on its background.  If you look at the close-up photo, you can see what I'm talking about.  This pattern was designed so that the points of the stars do not come right up to the edge of the seams where the dark blue meets the other fabrics.  There is a little "wiggle room" worked into the pattern, which makes it a LOT easier to make sure those points don't disappear into the seams.

Now that I am cataloging all my quilts in this blog, I have also learned how important it is to take a lot of pictures of the quilts I give away BEFORE they leave my house.  Unfortunately, I have given away a lot of quilts that I have minimal, if any, pictures of.  The pictures I do have are typically of the top and that is all -- no close-ups and no pictures of the backs or labels.  One of these days, I may ask my family to gather up the quilts I have given to them and, armed with my camera, take lots of pictures!

Tuesday, October 4, 2011

Snoopy Stars Baby Quilt

Snoopy Stars, 2007

Diane with the quilt at her baby shower.

I made this for my friend Diane's son Hayden when he was born in 2007. These aren't the greatest photos, but they're all I have.


This quilt is machine pieced and machine quilted. I think this is the first quilt I tried machine quilting on. Each star block is 12" x 12". There are twelve different Peanuts fabrics used in the center of each one. All of the solid fabrics, with the exception of the white, are flannels.  The backing is also flannel.  I do not have a photo of it, but it is a Peanuts-themed fabric as well.


Lesson learned from this quilt: When working with flannels, prewashing fabrics once is not enough, especially with the color red! I'm sad to say that after my friend washed this quilt, the red dye from the sashing fabric "ran" and turned the white fabric pink!

Close-Up of Peanuts-Themed Fabrics
I do like this pattern, though.  This quilt can be made with an unlimited number of themes.  All you have to do is change the fabrics you use for the star centers.  It's really only limited by your imagination (and fabric availability, of course!).

Monday, October 3, 2011

Alphabet Magnets

Oh, how I love my laminating machine!  Before I had my own I was constantly borrowing my mother-in-law's.  Last year, my husband bought me my very own for a Christmas present.  Since then, I have used it to do many different types of things.  I thought that today I would share an example of something I have done with my laminating machine.

At the end of the summer I was in a dollar store looking for some activity workbooks for my kids.  I came across a set of alphabet cut-outs (the kind teachers would use on a bulletin board).  When I got them home and opened them, I realized the paper used to make them was quite flimsy (that's what I should expect from a dollar store, I suppose).  But, never fear, my laminating machine is here!


As I was laminating all the letters, I decided "hey, why not go one step further?"  So, I bought some adhesive magnetic strips from the craft store, and now I have some really nice alphabet magnets for our refrigerator!

But I didn't stop there.  No, I did not.  I went online to search for free clip art of objects that start with the letter A.  I printed these onto some white card stock, cut them out, and laminated them too!  Now we have letters AND pictures to go with the letters, reinforcing the beginning letter sounds for my kids.  So far, I have done pictures for the letters A, B, and C.

Take a look!
Not bad, huh?

Saturday, October 1, 2011

Beginning The Love Dare

So, I started reading this book the other day called The Love Dare by Stephen & Alex Kendrick.  Here is the synopsis from the back cover:

"The Love Dare is a 40-day challenge for husbands and wives to understand and practice unconditional love.  Whether your marriage is hanging by a thread or healthy and strong, The Love Dare is a journey you need to take.  It's time to learn the keys to finding true intimacy and developing a dynamic marriage.  Take the dare!"

The book was published in 2008, but I first learned about it earlier this year while watching the movie "Fireproof" when it was broadcast on the Lifetime channel.  I don't typically watch movies on that channel, but I had heard of the movie (from the TLC show "19 Kids & Counting") and recognized it as I was channel surfing one evening.  It was about half-way through when I came across it, and I have still never actually seen the entire movie.  I did, however, see enough to peek my interest in the book featured in the movie.  I really wanted to know what was in that book!

So, I went online to our town library's web site to see if I couldn't get my hands on a copy.  No luck.  I tried the next closest library in another town.  No luck again.  Next I went to my favorite site for obtaining free books -- Paperback Swap!  It wasn't available, but I put the title on my "wish list" and waited.  That was several months ago.  Last week, I received a notification that the book was on its way to me!

On Tuesday evening I began reading the book.  It is now Saturday, and I have still not gotten past Day 1 (page 5).  I decided that I am going to try and do what the book says and not read ahead.  It has been three days and I still do not feel that I have completed Day 1's assignment.  I decided that for each day, I will not move on to the next Day until I feel I have satisfactorily completed the previous Day's assignment.  Unfortunately, at the rate I'm going, it's going to take about 160 days to get through this book!

Curious about Day 1's assignment?  I'm going to share it here, but I should also say that for this particular dare, I decided not only to do it with my husband but my children as well.  Since I spend ALL day, every day with my children, that's probably why it's taking me a while to get this one checked off my list.

"For the next day, resolve to demonstrate patience and to say nothing negative to your spouse at all.  If the temptation arises, choose not to say anything.  It's better to hold your tongue than to say something you'll regret."

So, in other words, I must be patient and hold my words in.  That is no easy task for me!  Hence, why I'm still working on it four days later....