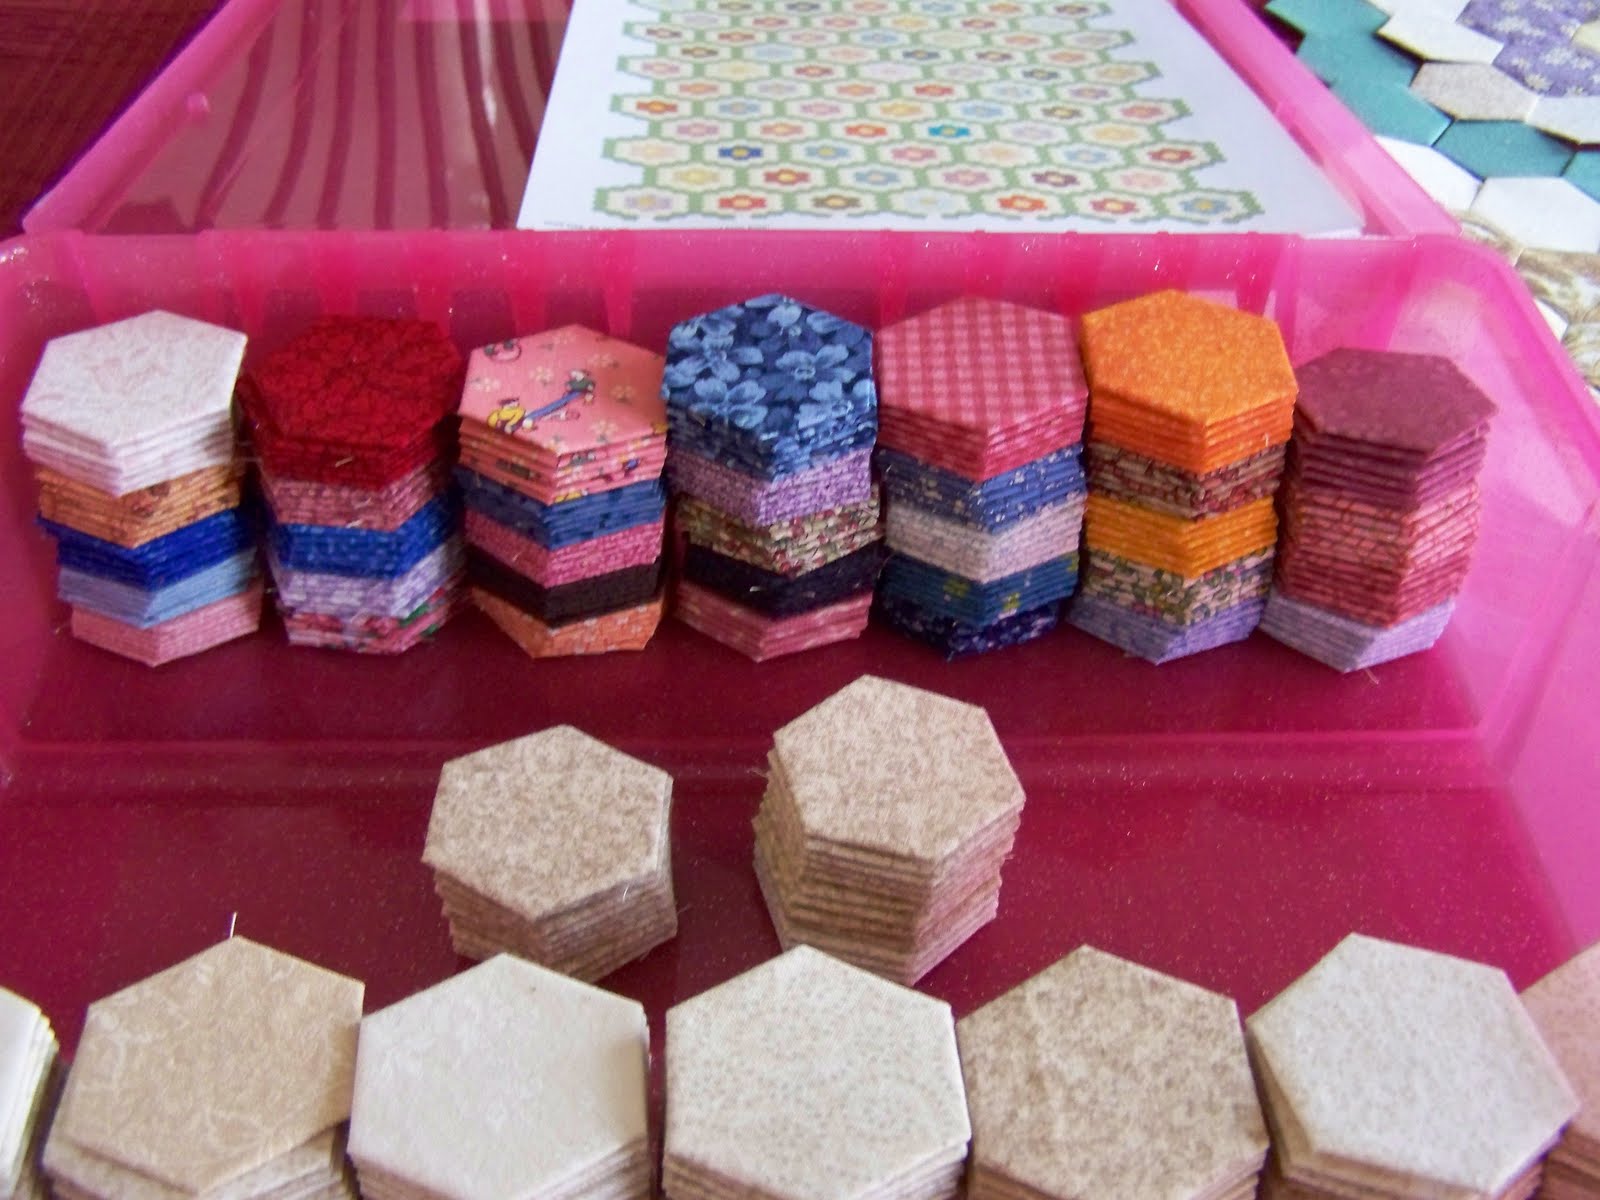
Below is My Step-by-Step Guide to Beginning a Hexagon Quilt using the English Paper Piecing Method!
Before we start, I would just like to say that this is the particular method that I use. There are many different variations on the English paper piecing method. In some versions, the paper is left in the finished quilt. Personally, it doesn't sit right with me to leave the papers in, so my method does involve removing the papers in the process.
Here's a picture of the end-project I am currently working on. This is just to give an idea of what I'm making. I have already made some changes to how the edges will look in the finished quilt, but this still gives you the overall idea.
Okay, so the first thing I do is print hexagon templates onto card stock. I use my EQ (Electric Quilt) program to do this. I can print hexagons in any size I want. Each side of these are 1 1/2" (1.5"). An 8.5" x 11" piece of card stock will yield 15 hexagons this size.
Next I cut out each hexagon and punch a small hole in the center of each one (you'll see why later). I cut these out the old-fashioned way, with scissors. Well, that's not entirely true. I use a rotary cutter and ruler to cut these into five strips of three hexagons each. I cut right on the lines of two edges (top and bottom). Then I can stack the strips for easy storage and cut the individual hexagons out as I need them, or when I have time and want something to do with my hands -- like when watching t.v.
FYI: Because of the number of templates I knew I would need, I chose to make my own, however, you CAN purchase ready-made hexagon templates. They come in many different sizes. The ones I have seen are made out of plastic. You can also re-use these throughout the same project, so you don't necessarily have to make as many templates as there are hexagons in your finished project.
So, the next thing I do is pin each one of these hexagon templates to a piece of quilting fabric (100% cotton). Then cut around the template leaving about 1/4 inch seam allowance all the way around. If you've done much quilting, you should be pretty good at "eyeballing" 1/4"!
By the way, you can probably guess that this is a fantastic project for using up all those fabric scraps!
Next, I fold the seam allowance over the card stock template and baste it down with needle and thread. For the method I am using, it is important NOT to sew through the card stock. This is because you will need to "pop" the template out of the fabric later on. If it is sewn in, you will have a very difficult time doing that!
In addition, you do not want these basting stitches to appear on the front of your hexagons. With this method I am using, you will not have to remove any basting stitches later on. You just leave them in and no one ever knows they're there!
When I am finished basting, this is what it looks like from the front.
So, here you have it in three steps: Pin, Cut, & Baste. Repeat this until you have the desired number of hexagons for your finished project.
Here are some completed hexagons. The next step is to sew these little guys together. This is done by hand, as you'll see in the next few photos.
A Word About Hand Sewing:
If you detest hand sewing, this project is NOT for you! For me, that is one of the most enticing things about this project. It not only forces you to slow down, it can be relaxing and helps you enjoy the process of creation. Another plus is that it is very portable! As such, I can work on this just about anywhere, anytime, anyplace....and I just love that!
Okay, so you need some high quality sewing thread. I used 100% cotton, but you can use whatever you prefer. You could also use hand quilting thread. One thing I find is very helpful is using a little beeswax to coat the thread before sewing hexagons together.
And I don't cut a very long piece of thread at all. I usually cut a piece the length of my hand to my elbow -- that's it. I find if it's any longer than that, it starts to fray and I have to dispose of it anyway before I can use the entire length.
I start by threading the needle (I use a quilter's between) and making a knot at one end. Then I run it through my wheel of beeswax a couple of times. Then I line up two hexagons (right sides facing) and start by inserting the needle through the right corner of both pieces. Then I proceed to stitch from the right corner to the left corner. I use a simple overcast stitch -- always coming into the fabric from the back with the needle.
You only need to "catch" a few threads of each fabric (See photos). You don't want to sew through the card stock template. I repeat, do NOT sew through the card stock!
Two hexagons (or hexies) partially sewn together.
Once you have two sewn together, you add a third. You do this by opening up the first two you sewed and then adding your third to one of them. For the quilt I am working on here, I need to make 72 "flower" patches. Each flower patch consists of 7 hexagons -- 1 center hexagon (mine are all yellow fabrics) and 6 "petals" (multicolored fabric scraps) that surround it. I sew one petal to one center yellow. Then I add the other five petals until all six sides of the center hexagon are sewn.
Here is another picture of a second "petal" hexagon being sewn to a yellow center hexagon.
Yellow center with two "petals" sewn on. Here's how it looks (from the back) when you open it up.
And here is how it looks from the front.
Here is a completed flower patch!
Once you have all six hexagons sewn to a center hexagon, you are ready to "pop" out the center hexagon's card stock template. I use the blunt end of a wooden skewer to do this. I insert it into the hole in the template and then pop the template out. Keep your templates! You can re-use them to make more hexagons!
Now, this is VERY IMPORTANT -- you ONLY pop out the template of the center hexagon. The rule is: You can only pop out a template if ALL SIX SIDES of the hexagon are sewn. If you pop out templates before all six sides are sewn, you will have a very difficult time sewing your hexagons to one another.
With the card stock out of the center hexagon, you are now able to fold the flower unit in half to sew the sides of the petal hexagons to one another.
Here's another finished flower patch.
Here is how they appear from the back. Notice that the center hexagon templates have been removed, but the six petal hexagon templates remain in place.
Here's a close-up of my stitching. I sew pretty small stitches because I am thorough and I want this quilt to last!
For the quilt I am making, I am surrounding each flower with various muslin hexagons. Again, one of my purposes is to use up a large stash of scraps!
So, I build around the flower petals in the same way that I built around the center hexagon. I remove templates as I go. Solid green hexagons will then be added to finish off the design. Refer to my photograph at the beginning to see what the finished project is intended to look like.
Here's the back. As each hexie is surrounded on all six sides with new hexies, the templates are popped out.
I began this project around March of 2010. Here was my progress as of September 5, 2010. I made a total of 13 flowers and sewn muslin hexagons around all but two of them.
All 13 flowers and all the hexagons I had made up to this point are in this picture. As I have time, I will post updates as to how this quilt is coming along. It's quite further along than this now!
Yellow centers and flower petal hexagons ready to be sewn!
Muslin hexagons
My then 2 1/2 year old son playing with the hexagons!