Showing posts with label Sewing Projects. Show all posts

Thursday, May 3, 2012

Make A Handmade Book Cover

I am so excited to have finally made this!

I had an idea to make some fabric book covers for a while now, but this week I finally got down to business and made one!  I am so happy with how this turned out.

As I typically do, I tried to stick with using only materials I had on  hand (not that hard to do, since I have a plentiful stash of fabric scraps, buttons, ribbons, and other odds and ends).


I started by doing a quick Internet search to figure out the logistics of construction (I didn't use a pattern).  So, first I found this site which got my creative juices flowing.  Next I found this helpful tutorial video at About.com.  I basically followed the video tutorial's instructions, but I did make a few alterations, which I will share:
  • I sewed all seams with a 1/4" seam allowance.
  • I added some lightweight fusible interfacing -- fused it to the fabric that goes on the inside of the book cover.
  • I added a ribbon bookmark, a pen holder, and a closure tab.
  • I added some decorative embellishments.

Also, if you decide to make one of these, I have a couple of tips and suggestions:


1.  If you are making the cover for a spiral notebook (as I have), when you measure the width of your book cover, do it with the notebook in the CLOSED position.  I measured mine both open and closed and there was a significant difference in the result.  With the notebook closed, the measurement is larger.  You want to make sure you have accounted for those extra inches before cutting out your pieces of fabric.  Use a flexible tape measure and wrap it around the book to get the measurement.


2.  If you plan to topstitch, add more than 1/2" seam allowance all the way around.  I would increase that to 5/8" -- which is the same as adding 1 1/4" to the height and width of your book.  So, for example, if your book measures 8" high x 12" wide, cut your main pieces of fabric 9 1/4" x 13 1/4".
The reason I would do this is because I originally intended to finish the book cover off by topstitching all the way around, as shown in the video.  However, I did not end up doing that because after checking the fit of the cover with my notebook, I realized that topstitching the top and bottom edges was going to make it an extremely tight fit for my notebook.  There really wasn't adequate roominess for me to topstitch without compromising the fit.  The ends were a bit more roomy because I had added more than 1/2" to the width of the notebook, so instead of topstitching the entire book cover, I just did a little decorative blanket stitch on the ends.

3.  Sew your embellishments BEFORE sewing the pieces of the book cover together.  The only exception is that I didn't sew the pink button (for the closure tab) until the end because I wasn't sure of the positioning until after it was all together.  My stitches ended up hidden behind the inside cover anyway, so it worked out just fine.


Well, that's about it.  If you have any other questions, feel free to comment below and I will try and reply as best as I can.  

Good Luck!  And remember:  When life gives you scraps, make yourself a beautiful book cover!

Friday, January 6, 2012

Advent Calendar: Early or Late?


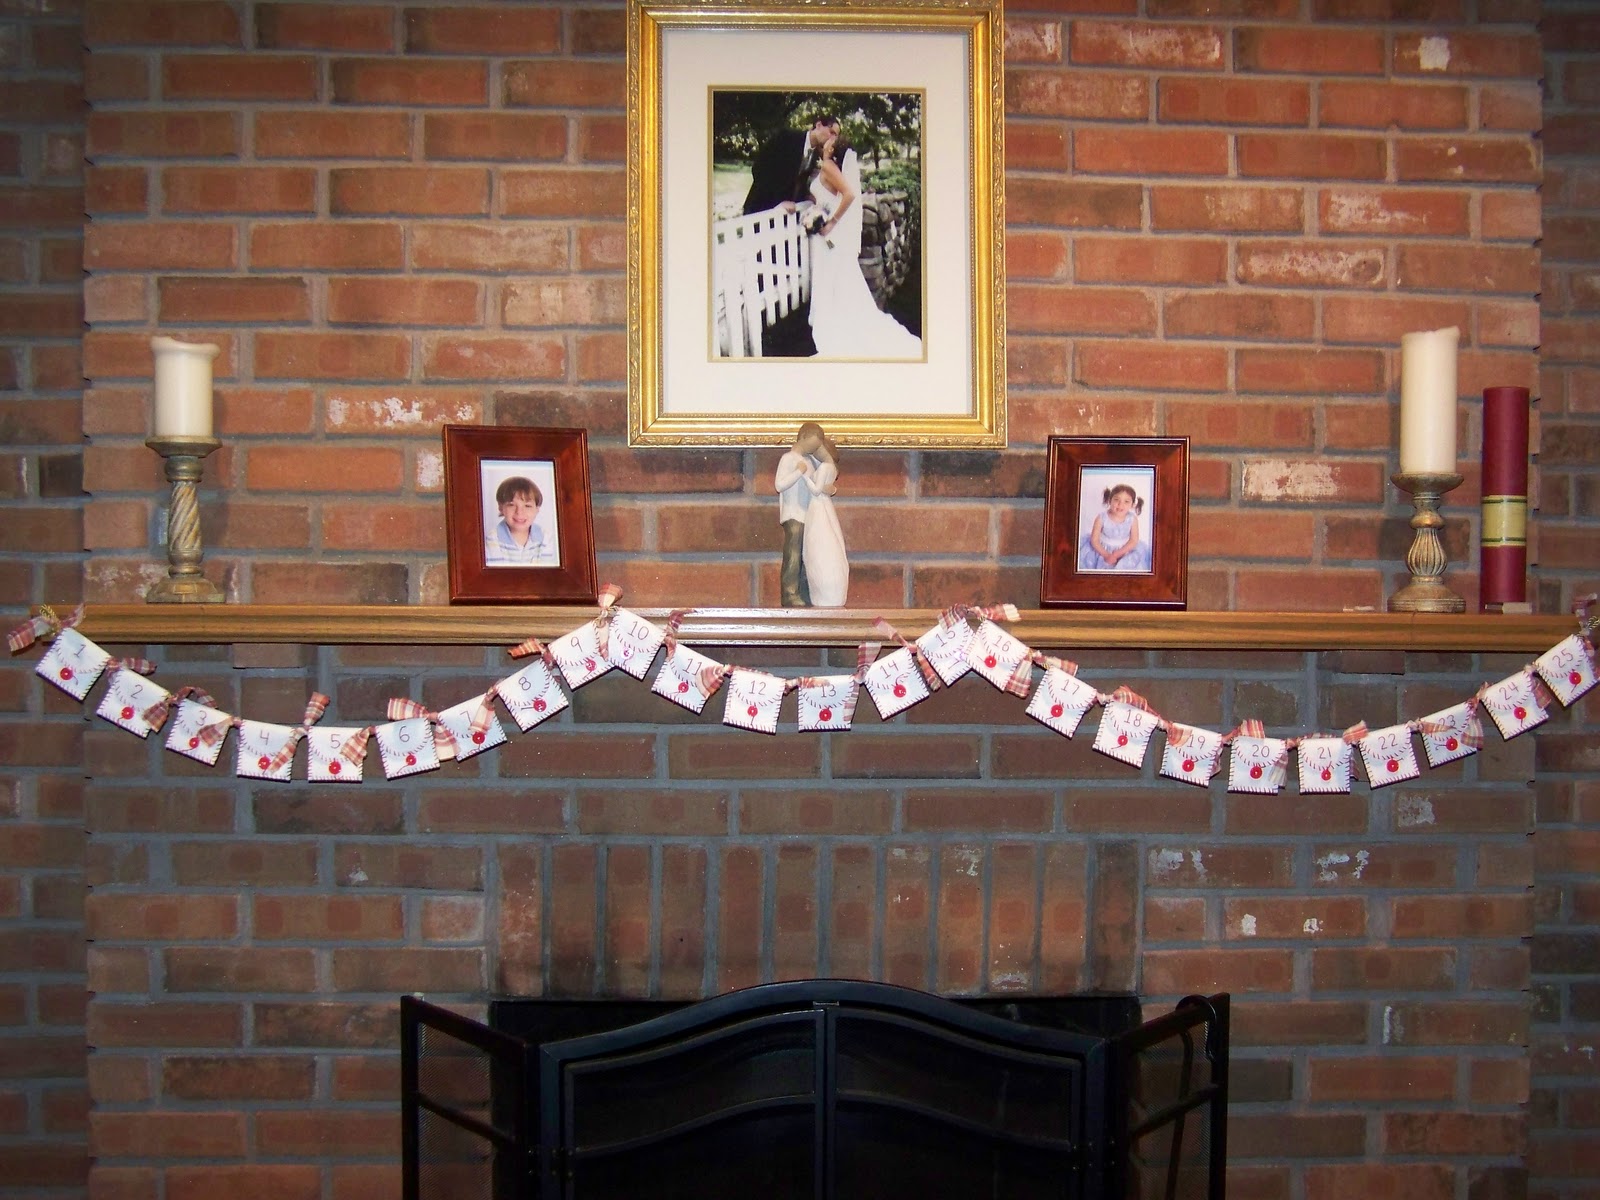
Depending on how you look at this, I am either very late or extremely early.  I just finished making an Advent calendar for my family.  I found this idea Thanksgiving weekend, but I pretty much knew from the start, that there was no way I would have the time to put it all together by December 1st.  So, I went ahead and began the project anyway in the hope that I could at least work on it while the Christmas spirit was still in our house and then tuck it away with the holiday decorations for next year (which, incidentally, is now THIS year).


I can't wait to fill these little pockets full of surprises for my little ones!  By the way, these pockets are just the right size for a Ghirardelli chocolate square!  I think some round peppermint candies would also fit in them nicely.  

Another idea that I really like is to put notes in some (or maybe all) of the pockets.  Each note can have an idea of a Christmas-related activity to complete as a family -- such as bake cookies, make holiday greeting cards, or go look at Christmas lights, etc.  At the bottom of this post, I have included a list of web sites I came across that have ideas to use just for this purpose.  Next Christmas should be lots of fun!

I already took down our Christmas decorations from the mantle, but you at least get the idea here.

And, if you're interested, here is another Advent calendar idea that I contemplated making.  It's a Christmas tree design with pockets underneath the tree.  Really sweet!

Web pages with more Advent calendar ideas to inspire you:

Code Name: Mama
Skip to My Lou
Secret Mommy


Wednesday, May 18, 2011

My "Horrible" Grocery Bags

Several weeks ago now my husband and I watched a program on PBS called "Bag It."  It was basically a documentary about the use of plastic shopping bags and in one part they demonstrated the devastating affects that plastic bags (and plastics, in general) have on the environment.  If you're interested in the movie you can visit the web site and watch the trailer here:  http://www.bagitmovie.com/

After watching the show, I really felt ashamed that I STILL haven't gotten on the re-usable bag band wagon.  We DO recycle all the plastic bags we use by returning them to the store, but I know that's not enough.  And sometimes I have to admit that it has crossed my mind (more than once) that there is a distinct possibility those bags are not actually getting recycled.  I mean, what guarantee do we have regarding where those bags are ending up?

The better solution would be to just use less of these bags to begin with.  So, I finally decided to change that.  And because I like to sew, I decided I would make our re-usable bags myself.  I also decided that I would do my best to make these bags without purchasing any new fabric to do it.  That would mean digging through my large fabric stash and putting some of it to use -- especially some of the not-so-pretty, outdated fabrics that I know, truthfully, I am probably never going to use in a future quilt.


The first thing I did was go online to look for some kind of pattern or idea on how to best construct the bags.  I found what appeared to be a great tutorial on making your own re-usable grocery bags.  I printed the directions and got to work soon after.  I say it "appeared" to be a great tutorial because once I started trying to follow the directions, I found several flaws with it.  Because of my sewing experience I was able to work through it and still complete the first bag, though a lot of swearing ensued during the process and I swore once I finished the first one, there wasn't going to be a second!  So, consider yourself warned if you decide you want to give these bags a try.  There are just some very basic steps missing and a couple of the descriptions of what to do are not totally clear.  Maybe one day, if I find time, I'll try and write my own bag-making procedure in a future post.  The tutorial isn't terrible, but it would be very difficult for someone with very little sewing experience to follow correctly.

These are some of the bags I have made so far:


 Now to prove to you that these bags are the same size as a typical plastic grocery bag, take a look at this:


And, actually, you may have noticed that my bags are a little larger than the plastic bag.

So, you may be wondering why the title of this post is My "Horrible" Grocery Bags.  My husband typically does our weekly grocery shopping.  Last weekend the cashier who checked him out was (and typically is, from what he tells me) very rude to him.  When he handed over the cloth bags, the cashier began scrutinizing one of them.  She looked at him and asked, "Did you make this?"  To which he replied, "No.  My wife did."  Her next response?  "Well, these bags are HORRIBLE.  You can't even fit anything in them."  Now, she said this before having even tried to put anything in them.  My husband pointed this out by saying, "You haven't put anything in them yet."  In a huff, she began bagging the items.  All the while complaining about reusable bags and what a bad idea they are and how the person who invented them (reusable bags, that is) should have to come down to the store and try to fill them with groceries and see how HE likes it.  Ya, that's what she said.

So, here's just how roomy my "horrible" bags are:


And here are all the items that are inside that bag:


 Now it's true all of that stuff would also fit inside the plastic bag:


BUT, would YOU want to carry that bag out to your car?  Probably not.  I think we all know there is a very good chance that bag would stretch and probably rip.


All I can say is, it's a good thing I made such horrible bags for my family.  I think we'll just going to go right on using them!  No matter what other people think of them.