First, look for fabrics that are 100% cotton. All your fabrics need to be similar weight as well. You don't want one fabric to be fleece and another flannel and yet another cotton. At some point, you may want to experiment with combining different types of fabrics, but in the beginning, you want to avoid making things more difficult for yourself. Keep it simple and stick to the fabrics designed specifically for quilting.

Now for the colors! For reference, here is the black and white version of our quilt again. Below, I have shared some ideas for different color combinations you might want to try!
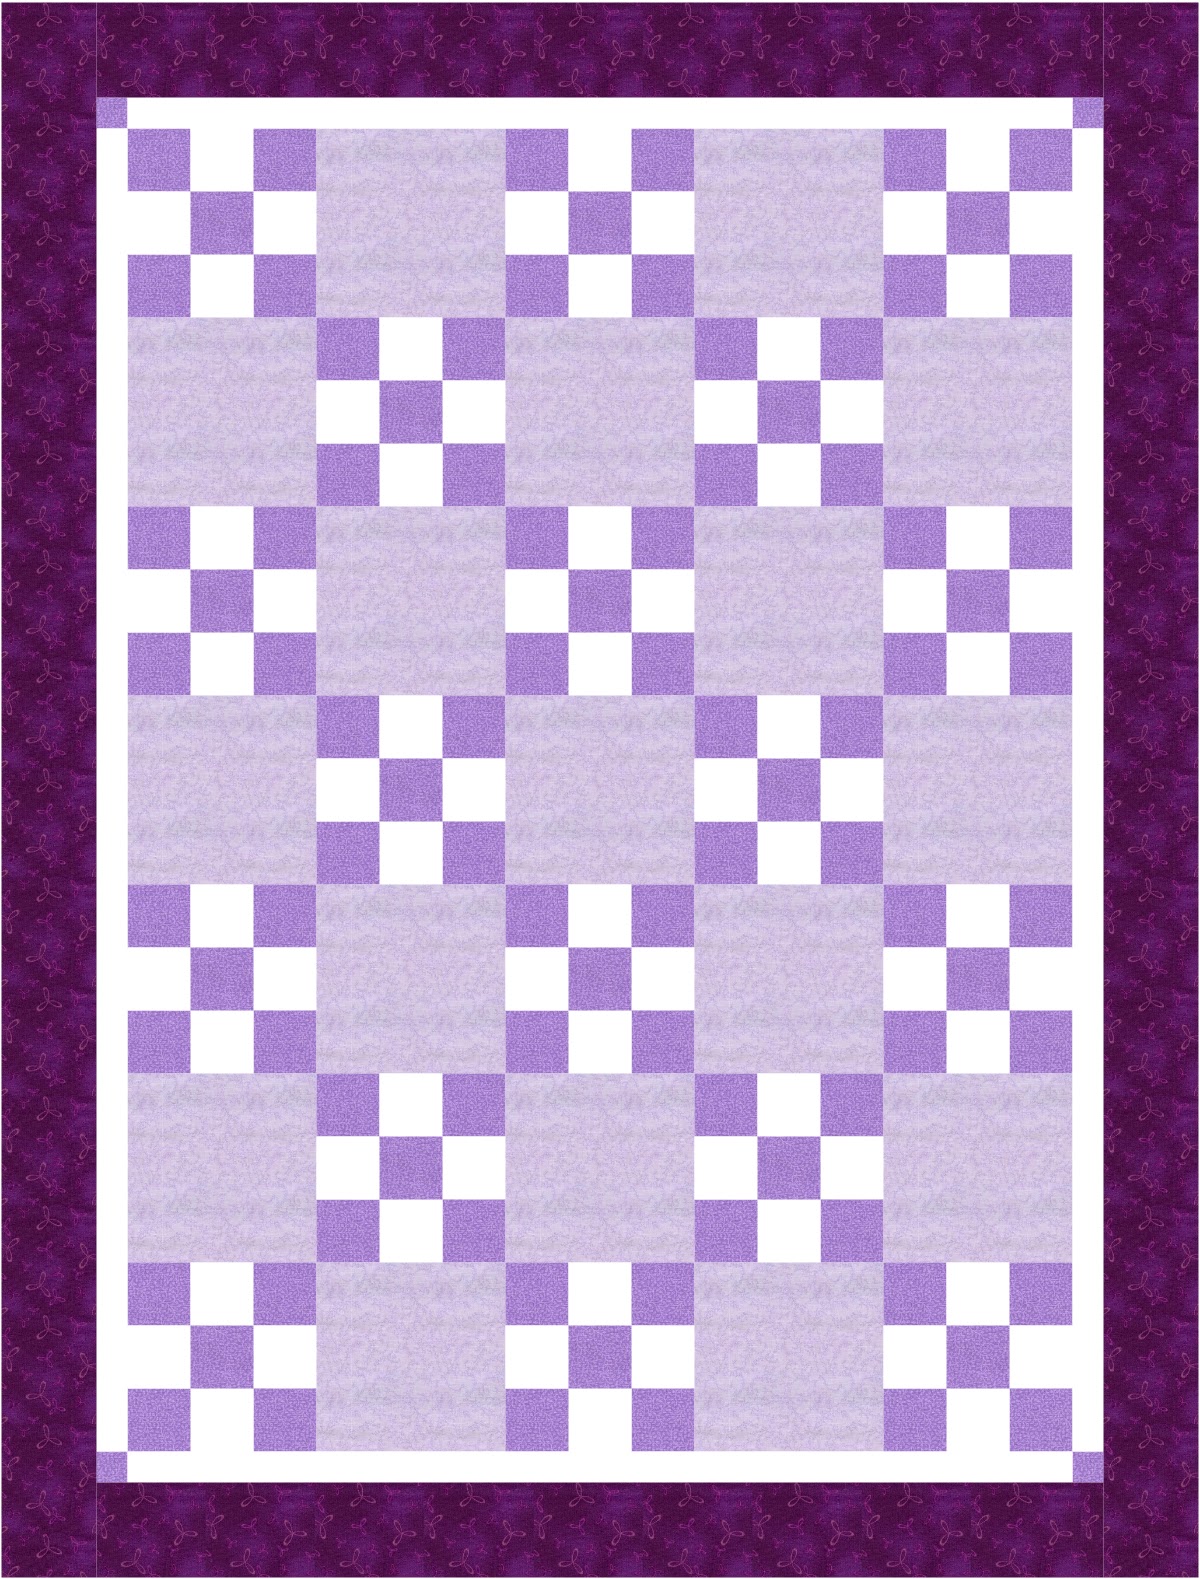
The most simple would be to choose a monochromatic color scheme. This is very easy. Keep in mind that it is important to think about color value when choosing your fabrics. Think in terms of light, medium, and dark. If you choose some of each, you will most likely end up with something that looks good.

If you'd like to add a bit more color, try choosing two colors. Again, remember to include light, medium and dark fabrics. I should also point out here that one fabric can be more than one value, depending on the other fabrics in the quilt. It all depends on its value in relation to the other fabrics in the quilt. For example, a fabric might be "medium" in one quilt, but "light" in another that has a lot of dark fabrics.

And if you aren't afraid to try lots of different fabrics, something like this might appeal to you. This has a "scrappy" look and is one of my favorites! Once you have been quilting for a while, you will amass quite a pile of scraps. A quilt like this is a great way to use some of them up!
A smart way to make a quilt like this would be to choose the multicolored print first (that's the fabric in the plain block squares). Once you have that chosen, you can base all your other fabric choices on the colors in that fabric.

Now let's look at some of the actual fabrics I have chosen for my quilt. I started with this adorable fabric for the plain blocks.
Next, I started "auditioning" fabrics from my scrap box. I made a few nine-patch blocks to start. Then I tried lots of different fabrics by laying them next to the animal print.

These are the 18 fabrics I decided would look best with the animal print blocks.
What I actually did here was decide on several different colors -- green, blue, purple, and yellow. Then I divided the number of nine-patch blocks (18) by the number of colors (4) to determine that I should have about 4 different prints in each color. This is a good way to make sure the colors are "balanced." In other words, I did this to prevent ending up with one color dominating the quilt.
Now, how do you know how much fabric you need to buy? Well, that can be tough at first, but it's not that difficult. First, determine what you need to cut for your quilt. As discussed in Lesson 1, for this quilt you will need 17 - 6 1/2" squares for the plain blocks. Quilting fabric typically comes 42" wide, and one yard is 36" long (remember what I said about math in Lesson 1?).
If you cut strips that are 6 1/2" wide and then cut those into 6 1/2" squares, one strip that is approximately 42" long, should yield 6 squares (6.5 x 6 = 39). Now, you need 17 squares, so you'll need to cut 3 - 6 1/2" wide strips. Finally, determine how many inches of fabric you will need to get those 3 strips -- in this case, 6.5" x 3 = 19.5" which is more than a 1/2 yard (18") and less than 3/4 yard (27"). In the middle would be 2/3 yard which is about 24 inches.
So, 2/3 yard would be enough for your plain block squares. I typically purchase a little more in case I make a few mistakes (either in my math or when cutting the fabric). I actually bought 3/4 yard of that animal print.
Also, some quilters, myself included, prewash and preshrink all their fabric. Buying a little extra also takes this into account.
To summarize, all you need to know is a few key measurements (the width of your fabric, what size squares you need, and how many of them you need) to figure out your yardage. Make a little diagram of the fabric (if that helps you) to figure out how many squares you can get out of one strip, figure out how many strips you need, and then how many yards of fabric will yield that many strips.
For our quilt, here is a list of what you will need:
1 yard of solid white (nine-patch blocks and inner border)
2/3 yard animal print (plain blocks)
18 (2 1/2" x 20") strips colorful prints for nine-patch blocks, plus some scraps for 4 (1 1/2") inner border setting squares
1/2 yard fabric for outer border
3/8 yard fabric for binding
1 1/2 yards fabric for backing
You will also need a package of crib-size batting
In Lesson 3 we will start cutting the fabric! Sharpen your scissors!
No comments:
Post a Comment